[Exhibition] Stars in Your Hands
Topic: Interactive Installation, Social power dynamic
Venue: New York University Interactive Communications Program Building
Type: NYU ITP Camp Final Show
Tools: p5.js, processing, DMX lighting, Arduino, potentiometers, 프로세싱, 무빙 라이트 및 라이팅 제어 소프트웨어, 아두이노
Date: June 2017
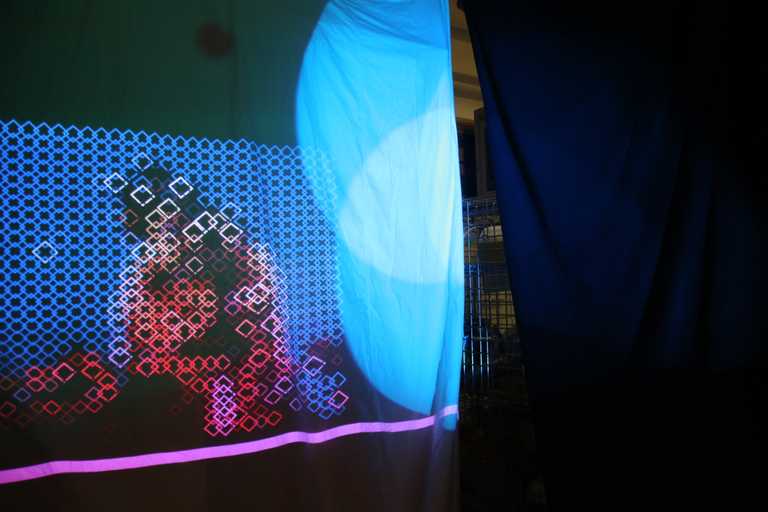
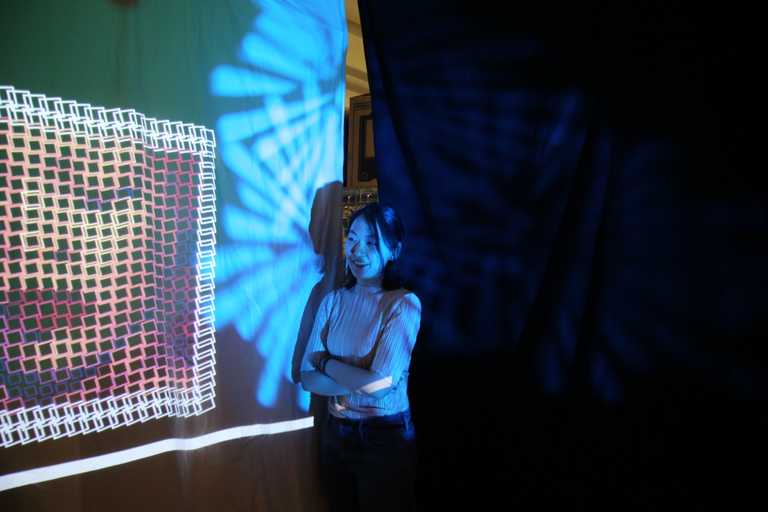
An interactive installation about reversing the power dynamic between celebrities on stage vs. audience. It allows people to directly control the lighting and projection design of the space.
Please set to 1080p for better video quality
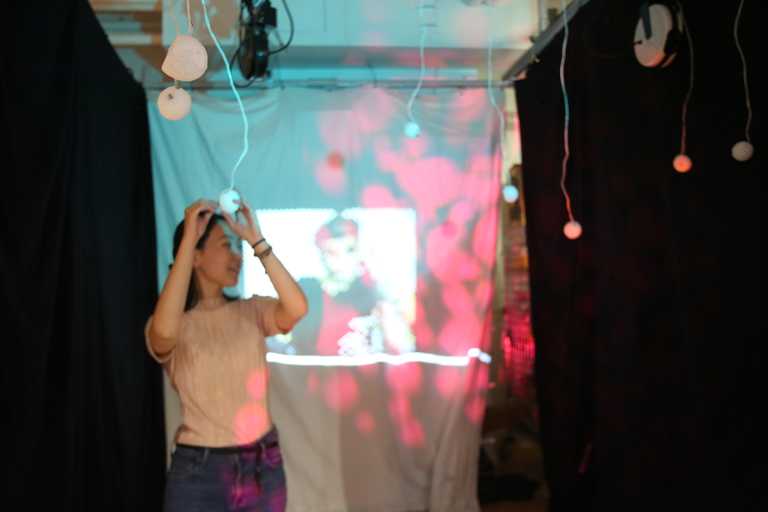
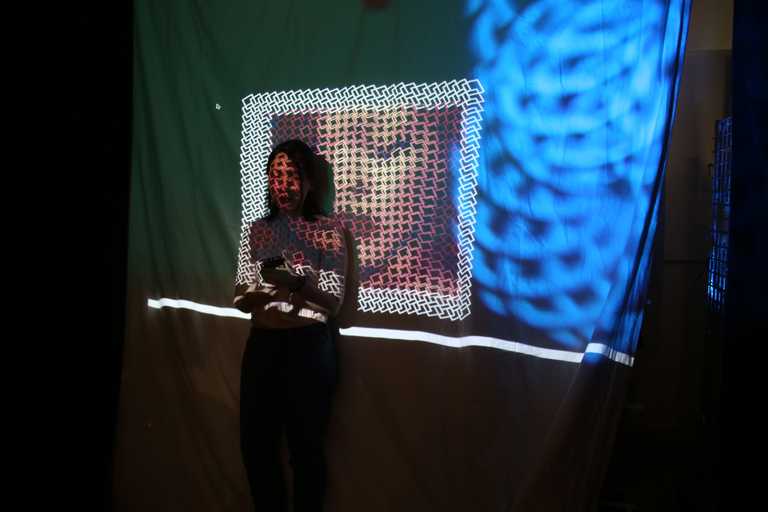
Description
As I have worked and pursued the idea of collaborative and interactive audience (with one another) in live event settings, I wanted to create playful environment that multiple people can share together in this project again. In my undergrad thesis, I could only use one hand motion detector, which allowed 2-3 people at maximum at the time of showcase, due to budget issue. This time, I wanted to put more controllers for the audience in the shared space and let them freely collaborate/chat/interact - either by figuring out how this works or by changing the environment in accordance.
Inspired from concert/festival environment where the singers/celebrities are almost the one and only focus in the show, considered as stars and idols. I wanted to break that hierarchical relationship between the stage and the audience by freeing the stage design elements to audience.
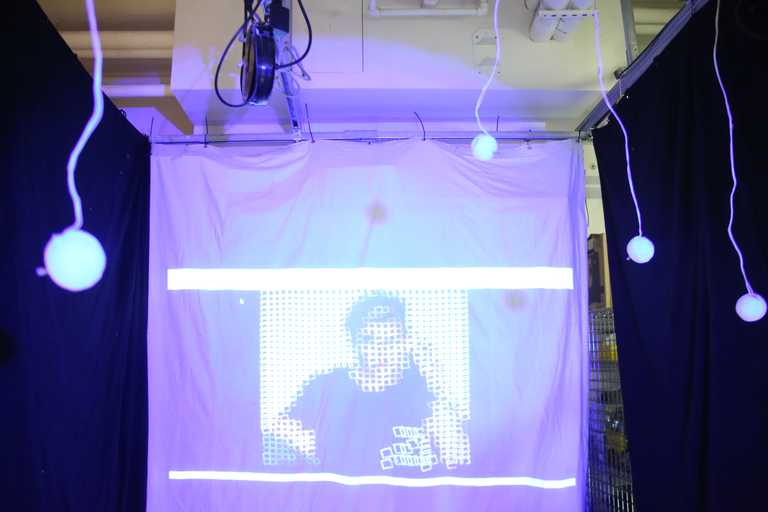
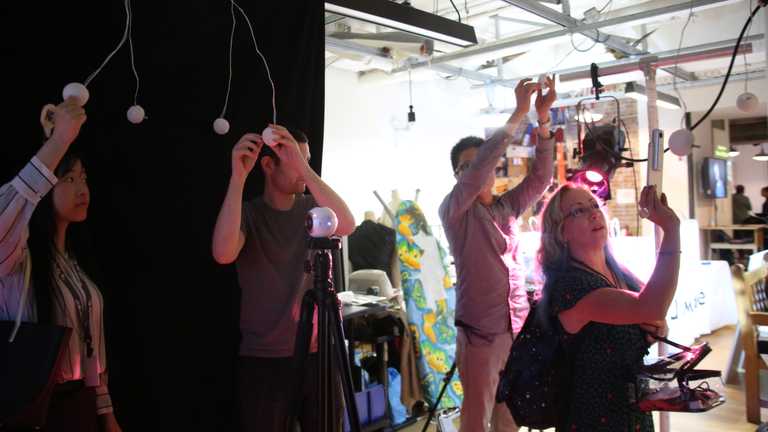
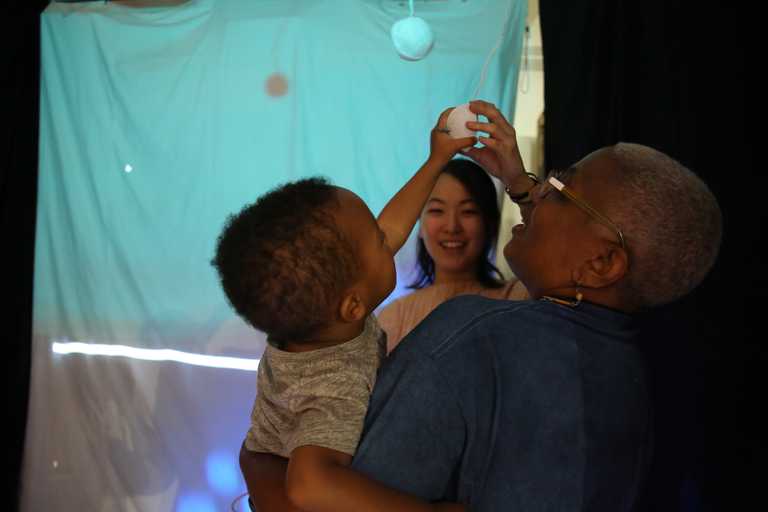
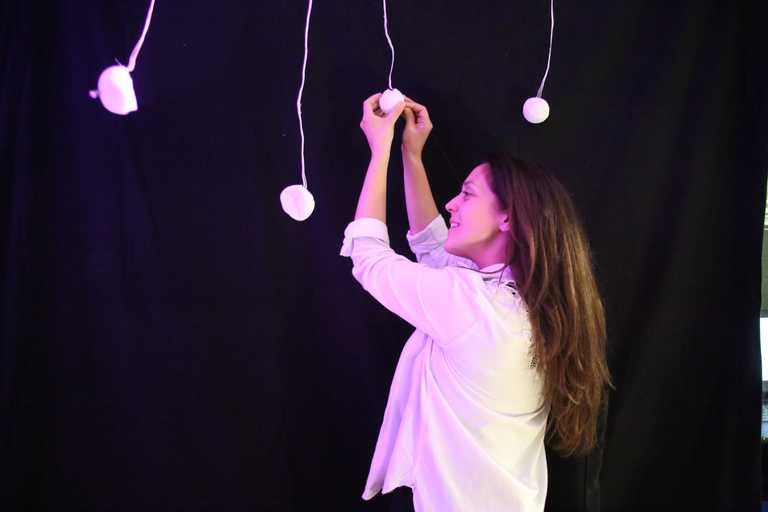
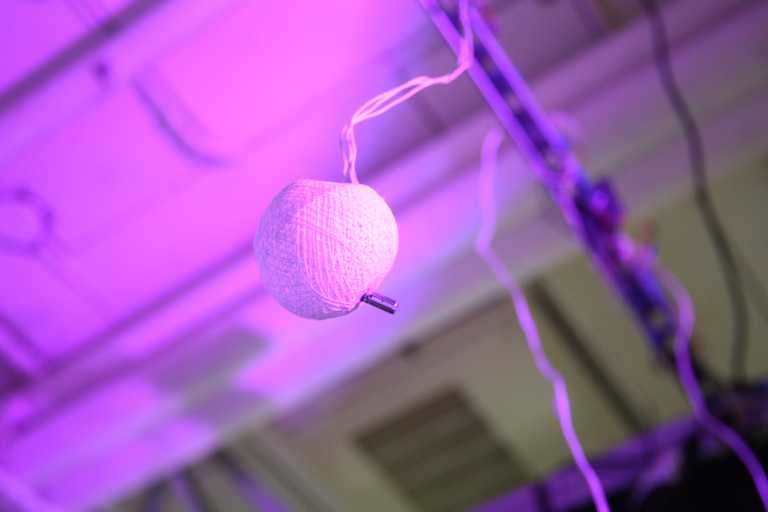
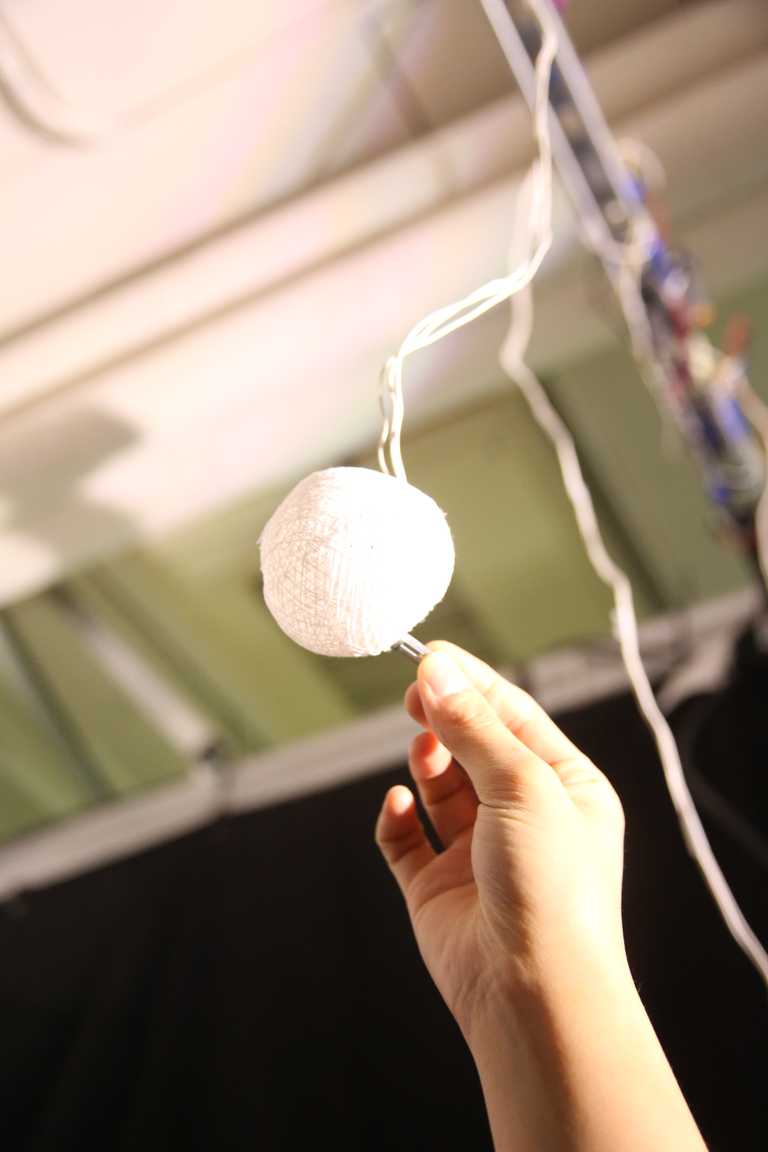
Hanging 'stars' from the ceiling are the controllers that allows the audience to change the pixels of projected images and the moving light that brighten the shared space; controlling the 'stars' before you in the same space.
Requirements
- Arduino 101 or Uno
- P5, processing sketches
- QLC+ program
- DMX controller
- DMX lightings - moving LED, LED source 4
- potentiometers
- decoration
- extra power voltage suppliers
Section 1 : Changing the lights
Relationship
power supplier (5v) + Arduino Uno/101 + potentiometers(knobs)
laptop + Processing + QLC+ DMX lightings + DMX controller
What does it do
- Potentiometers are controlled by the audience.
- Arduino receives the changing value from the potentiometers and shows in serial monitor.
- Arduino sends them to Processing.
- Processing receives the data from Arduino and sends it to QLC+ software. QLC+ and Processing can talk by using OSC, which is more commonly used for touch screen functions.
- QLC+ software changes the variables according to the data it receives.
- These input changes the DMX lighting via DMX controller.
- We have total 4 potentiometers and they change horizontal axis, vertical axis, gobo shapes, and lighting color of the ETC moving LED light.
Things to check before testing
- Check Arduino pin outs and serial outputs
- Turn off Arduino Serial Monitor
- Processing: make sure you are making substrings (especially for the last element, to get rid of new line error)
- Processing: turn off Arduino serial monitor before you run. Check the Serial.list()[0] or [1], if you have more than one Arduino plugged into the same laptop
- QLC – Play first and then run Processing
- QLC – Check each universe, IP, lighting's intensity and shutter
Mistakes and Lessons
- Universe 1, 2 connection with ENTTEC
- Settings – Check IP address
- Processing – Serial.list[0] or [1], Universe 2 is 7701
- Arduino: It sends information much faster than Processing can handle; need delay()
delay(100) seems to be the optimum
- Processing and QLC talk to one another by using OSC
- Easy to program two universes in Processing (Universe 1 – pre-recorded ETC source four led fixture, Universe 2 – controllable Elation moving light)
Section 2: Changing the Projected Images
Relationship
power supplier (5v) + Arduino Uno/101 + P5 sketch + Projection
Things to check before testing
- Check Arduino pin outs and serial outputs
- Turn off Arduino Serial Monitor
- Turn on p5serial control app (Shawn Van Every github), Close before you check/upload Arduino
- Run the P5 sketch with correct image arrays
What does it do
- Arduino receives inputs from potentiometers.
- Those values are transferred to P5 (Arduino and P5 serial communication).
- P5 changes the variables in the sketch with those inputs.
- 4 potentiometers change pixel rotation speed, pixel size, and RGB colors of the projected images.
- In P5, images are saved in an array and skips to the next one after a designated interval.
Mistakes and Lessons
- P5: Be careful with Image Array (using frameCount to skip to next image with certain intervals)
- Serial Communication between P5 and Arduino is fairly simple with the guideline
Overall notes
- Arduino cannot easily handle 4 potentiometers at a time. The numbers in a serial monitor flicker like crazy. External power supply 5V gives a clear signal.
- Wireless? Not on this one because of budget and time issue. (Also because of the advice, when you can make it wired, why go wireless?)
- Alternative Idea – Pressure Sensor / Stepping on the ground, instead of hanging up there (hanging is quite painful to install)
- Originally wanted to add flickering led lights in each knob-ball, but because the light doesn't diffuse much and having another wires insider the same ball could short the potentiometer-arduino circuit